You can finish a videography course with camera confidence and still feel stuck when the footage hits your laptop. The clips look fine. The audio is usable. The shots are there. But turning those clips into professional content from raw footage takes a different set of decisions.
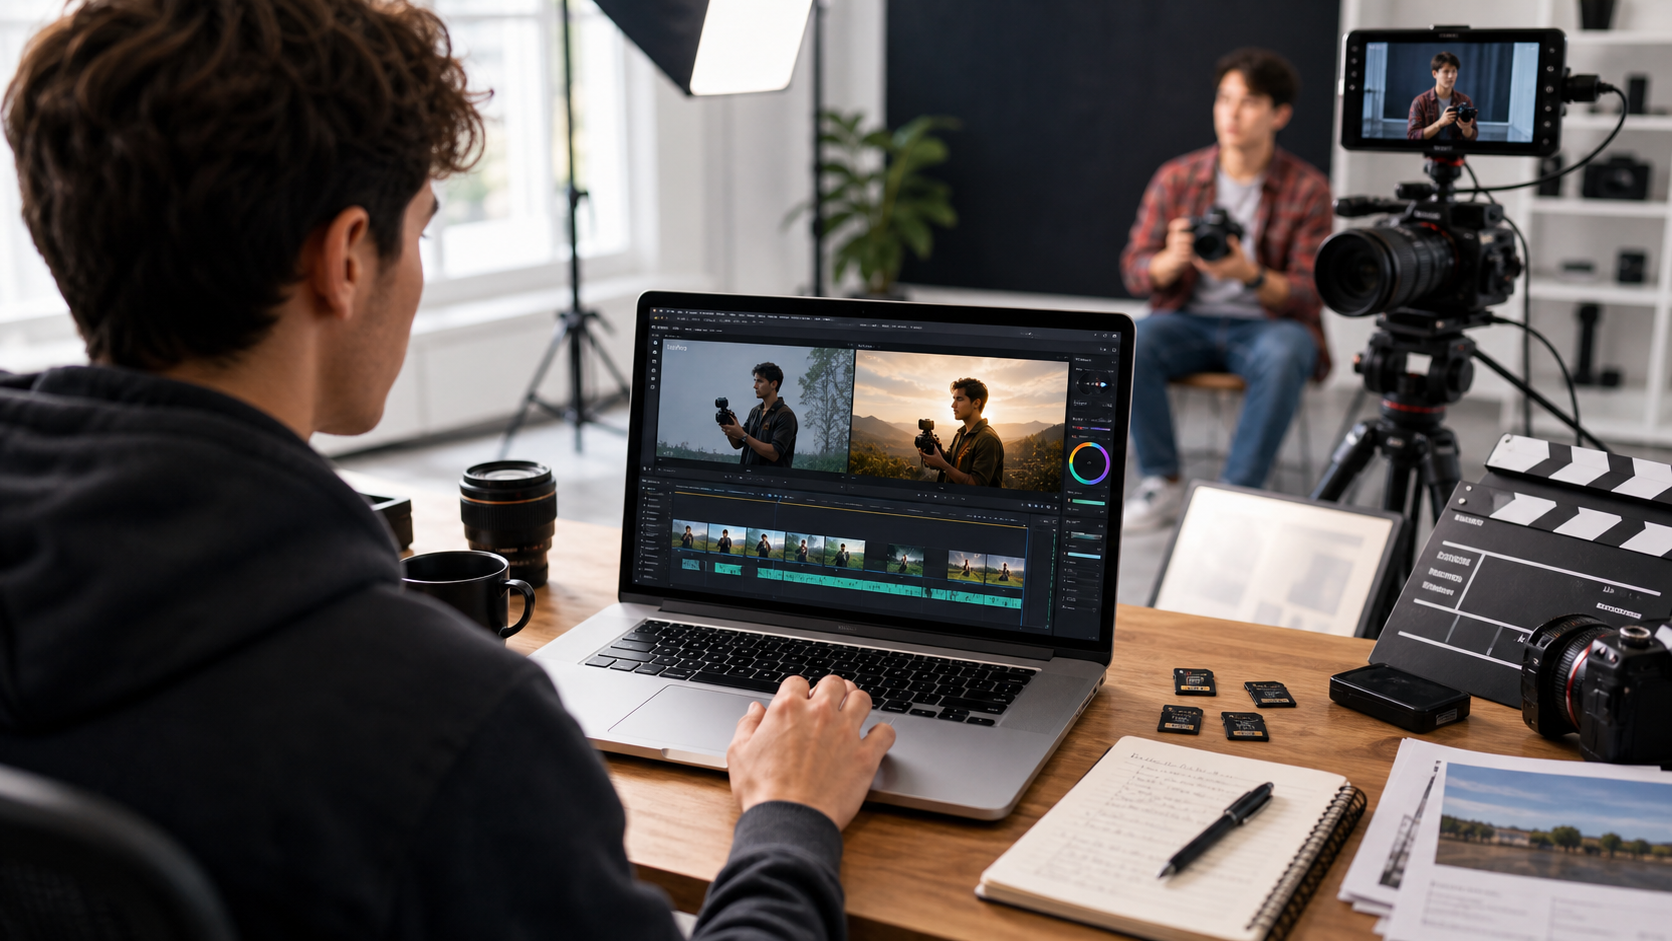
The edit is where beginners start looking like creators. It is where shaky pacing, weak audio, mixed lighting, awkward pauses, missing captions, and wrong export sizes get fixed. If you want to turn raw footage into professional content, start with a repeatable post-production workflow instead of guessing your way through the timeline.
After a videography course: your footage becomes useful content when you organize it, shape a clear story, clean the sound, correct the color, add readable captions, and export for the platform where people will watch it.
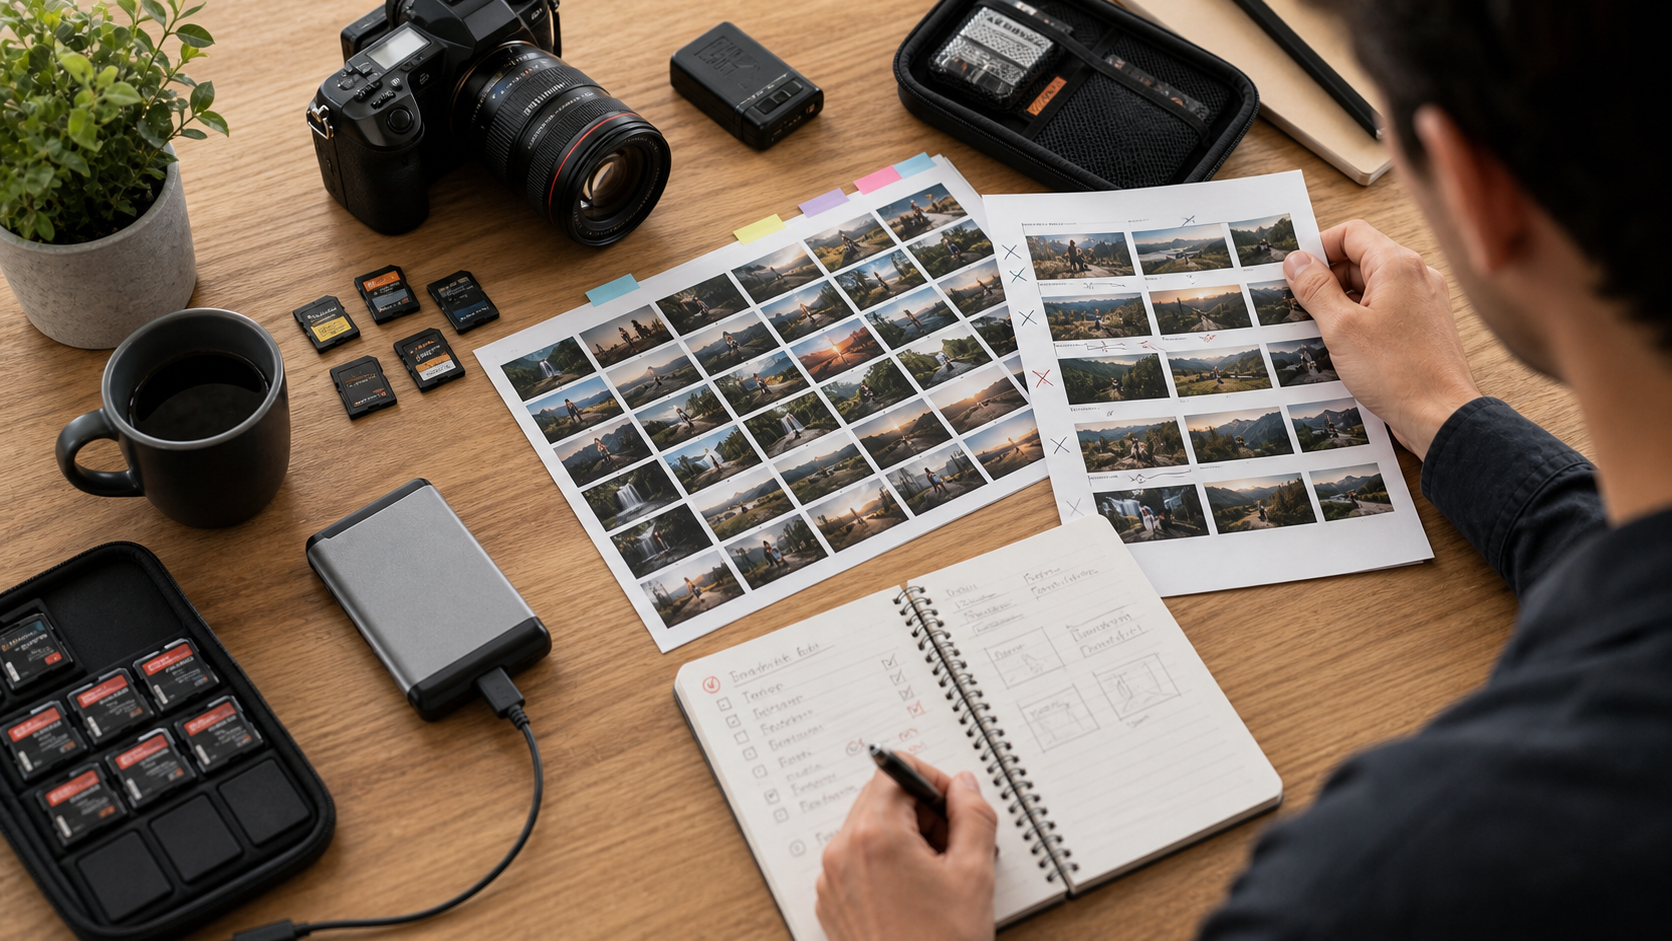
Start by Sorting Footage Before You Touch the Timeline
Professional content starts before editing software opens. A clean folder system helps you find the best shots faster, avoid lost files, and build a stronger edit with less frustration.
Create folders for A-roll, B-roll, audio, graphics, exports, and project files. Rename clips by scene or topic instead of leaving camera filenames untouched. Back up the original files before you start cutting. The boring prep saves hours later.
Students often jump straight into trimming because it feels productive. That usually creates a messy timeline. A better first pass is simple: watch the footage, mark usable moments, remove obvious mistakes, and write down the clips that carry the clearest story.
If you are still learning the post-production process, Synergy Creations Digital’s breakdown of the core elements of video editing and post-production is a useful next read.
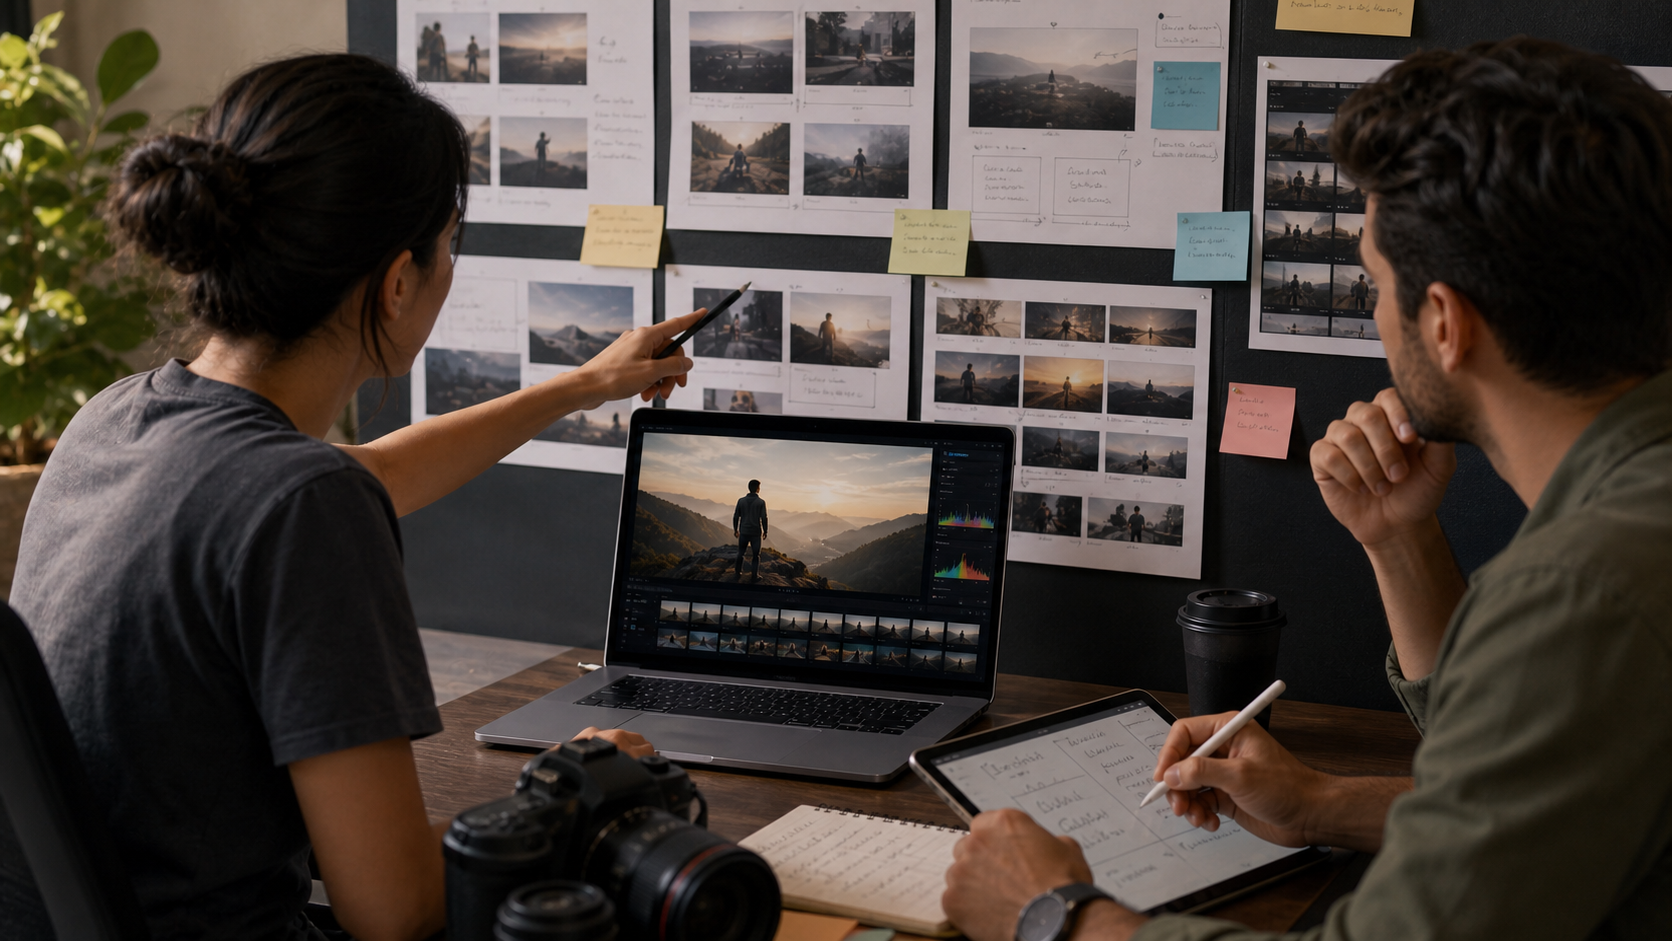
Build Professional Content From Raw Footage With a Clear Story Arc
Raw footage becomes professional content when the viewer can follow the point without working for it. The story arc gives the edit a beginning, a reason to keep watching, and a clean ending.
For a course project, client sample, social video, or portfolio piece, use a simple structure:
- Hook: show the most interesting visual or promise the main outcome in the first few seconds.
- Context: tell the viewer who, what, or why in one short beat.
- Proof: use the best shots, close-ups, motion, or dialogue to support the point.
- Payoff: land the final visual, result, lesson, or call to action.
That structure works for brand videos, wedding reels, real estate clips, product promos, and YouTube intros. It also helps when you are creating samples for a portfolio. Review Synergy’s video editing portfolio to see how different project types use different pacing.
For platform planning, use official resources too. YouTube’s recommended upload encoding settings explain file formats, frame rates, resolution, and aspect ratios. Those technical details affect how polished your final upload looks.
Cut for Pacing, Sound, and Viewer Attention
Good editing removes every moment that slows the viewer down. Cut dead air, repeated lines, soft takes, weak camera moves, and shots that do not add information or feeling.
The first edit should be rough. Get the sequence into shape. Then tighten it. Most beginner edits are too long because the creator remembers the effort behind every shot. Viewers only care about what the shot does for the final video.
Sound needs the same treatment. Balance voice levels, remove harsh background noise where possible, add music at a lower volume than you think, and use sound effects only when they support the moment. Adobe’s Premiere Pro user guide is a solid reference for learning editing tools, audio controls, captions, and export settings.
If editing still feels slow after a course, that is normal. The gap between learning camera basics and finishing polished content is exactly why many creators work with professional video editing services while they keep improving their own skills.
Use Color, Captions, and Graphics to Make the Edit Feel Finished
The fastest way to make amateur footage feel cleaner is to fix consistency. Match exposure, correct white balance, keep skin tones natural, and add captions that can be read on a phone.
Color correction should make the clips feel like they belong together. Color grading comes after that. Do not add a heavy look before the basics are fixed. If one shot is blue, another is orange, and another is too dark, the viewer feels the mismatch even if they cannot name it.
Captions matter because people often watch without sound. For short-form platforms, captions also help hold attention. Instagram Reels business resources and the TikTok Creative Center both show how much platform-native creative style affects performance.
Use graphics carefully. Lower thirds, simple titles, arrows, product labels, and motion callouts can help viewers understand the edit faster. If you want those elements to look polished, motion graphics services can turn basic footage into a cleaner brand asset.
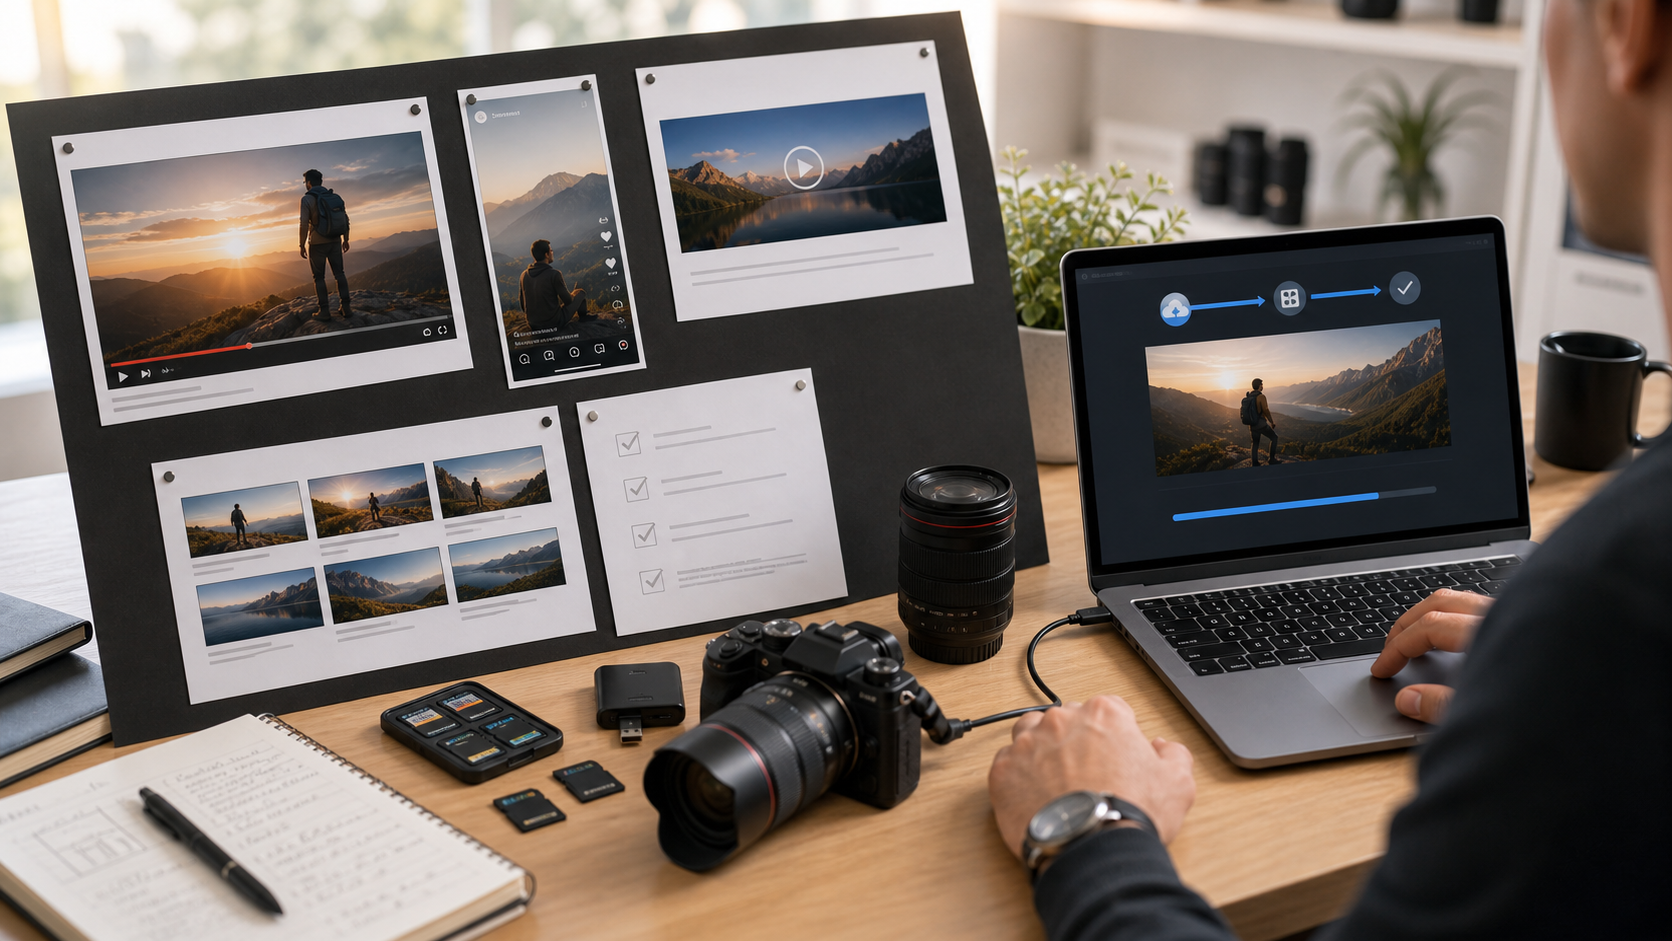
Export One Edit Into Several Platform-Ready Versions
A single finished edit can become several pieces of content. Export a wide version for YouTube or websites, a vertical version for Reels and Shorts, and shorter cuts for paid ads or social posts.
This is where many new videographers lose quality. They finish a good edit, then upload the same file everywhere. Platform fit matters. A 16:9 video can feel tiny on a phone, while a vertical video may not work well on a website hero section. Synergy’s article on aspect ratios in videography explains why framing changes the viewer’s experience.
For short-form planning, YouTube Shorts guidance helps creators understand how short vertical videos are published, while Think with Google’s YouTube creative guidance gives useful direction on hooks, branding, and viewer attention.
Creators who want faster output can also turn longer edits into short clips. Synergy’s guide on short-form video editing services for views and sales covers that content path in more detail.
Use Feedback Before You Publish
Professional editors rarely trust the first finished cut. They watch it fresh, test the sound on different devices, check captions on mobile, and ask whether the message lands without extra explanation.
Before publishing, do a quick review pass:
- Watch without sound and check whether captions carry the message.
- Listen without looking and check whether the audio feels clean.
- View it on your phone, not only your editing monitor.
- Ask one person what they think the video is saying.
- Export a small test file before rendering the final version.
Wyzowl’s latest video marketing statistics continue to show strong business demand for video, but weak editing still hurts trust. If your footage is for a brand, client, or portfolio, the final check is worth the extra time.
Key Takeaways for New Videographers
Professional content from raw footage comes from process, not luck. The more repeatable your editing workflow becomes, the easier it is to create strong videos after every shoot.
- Sort and back up footage before editing.
- Build the edit around a clear hook, proof section, and ending.
- Cut dead space and protect pacing.
- Clean audio before adding extra music or effects.
- Match color and exposure across clips.
- Add captions for mobile and sound-off viewing.
- Export different versions for each platform.
If your goal is client work, review the cost of video editing and reasons to outsource video editing services. Both help you understand the business side of post-production.
Final Thoughts
A videography course teaches better capture. Post-production turns that footage into something people can watch, understand, and remember.
If you have footage from a course, shoot, or brand project and want it polished for real use, contact Synergy Creations Digital for editing support that turns raw clips into finished content.
Frequently Asked Questions
How do I turn raw footage into professional content after a videography course?
Start by organizing clips, choosing the strongest moments, building a simple story arc, cleaning audio, correcting color, adding captions, and exporting versions for each platform.
What makes raw footage look professional after editing?
Professional footage usually has steady pacing, clean sound, matched color, sharp framing, readable captions, clear graphics, and an ending that tells the viewer what to do next.
Which editing software should beginners use after a videography course?
Beginners can start with tools like Premiere Pro, DaVinci Resolve, Final Cut Pro, or CapCut. The best choice depends on budget, device, project type, and how much control you need.
How long does it take to edit raw footage into finished content?
A short social video may take one to three hours. A polished brand video, talking-head edit, or portfolio piece can take several hours or a few days depending on footage quality and revisions.
Should I hire an editor after finishing a videography course?
Hire an editor when the footage is for a client, paid campaign, portfolio, or brand launch. Edit it yourself when the goal is practice and speed matters more than polish.
What files should I send to a professional video editor?
Send raw footage, separate audio files, brand assets, music licenses, reference videos, platform requirements, deadline, and notes about the message or story you want the edit to carry.